Install Loft with Helm
Deploy Loft via Helm v3:
helm upgrade --install loft loft --repository-config='' \
  --repo https://charts.loft.sh/ \
  --create-namespace \
  --namespace loft \
  --wait \
  --set admin.email=$EMAIL \        # Make sure to replace this variable
--set admin.password=$PASSWORD # Make sure to replace this variableCommon Helm Issues
Make sure that your current workdir does not contain a file or folder called
loftbecause otherwise Helm will run into an odd error and try to use the local folder or file as the Helm chart and the installation will fail. Check using:ls -lStart port-forwarding to your Loft instance:
kubectl port-forward service/loft 9898:443 --namespace loftWhile port-forwarding is running in the background, sign in to your Loft instance that should be running on
localhost:9898- via UI
- via CLI
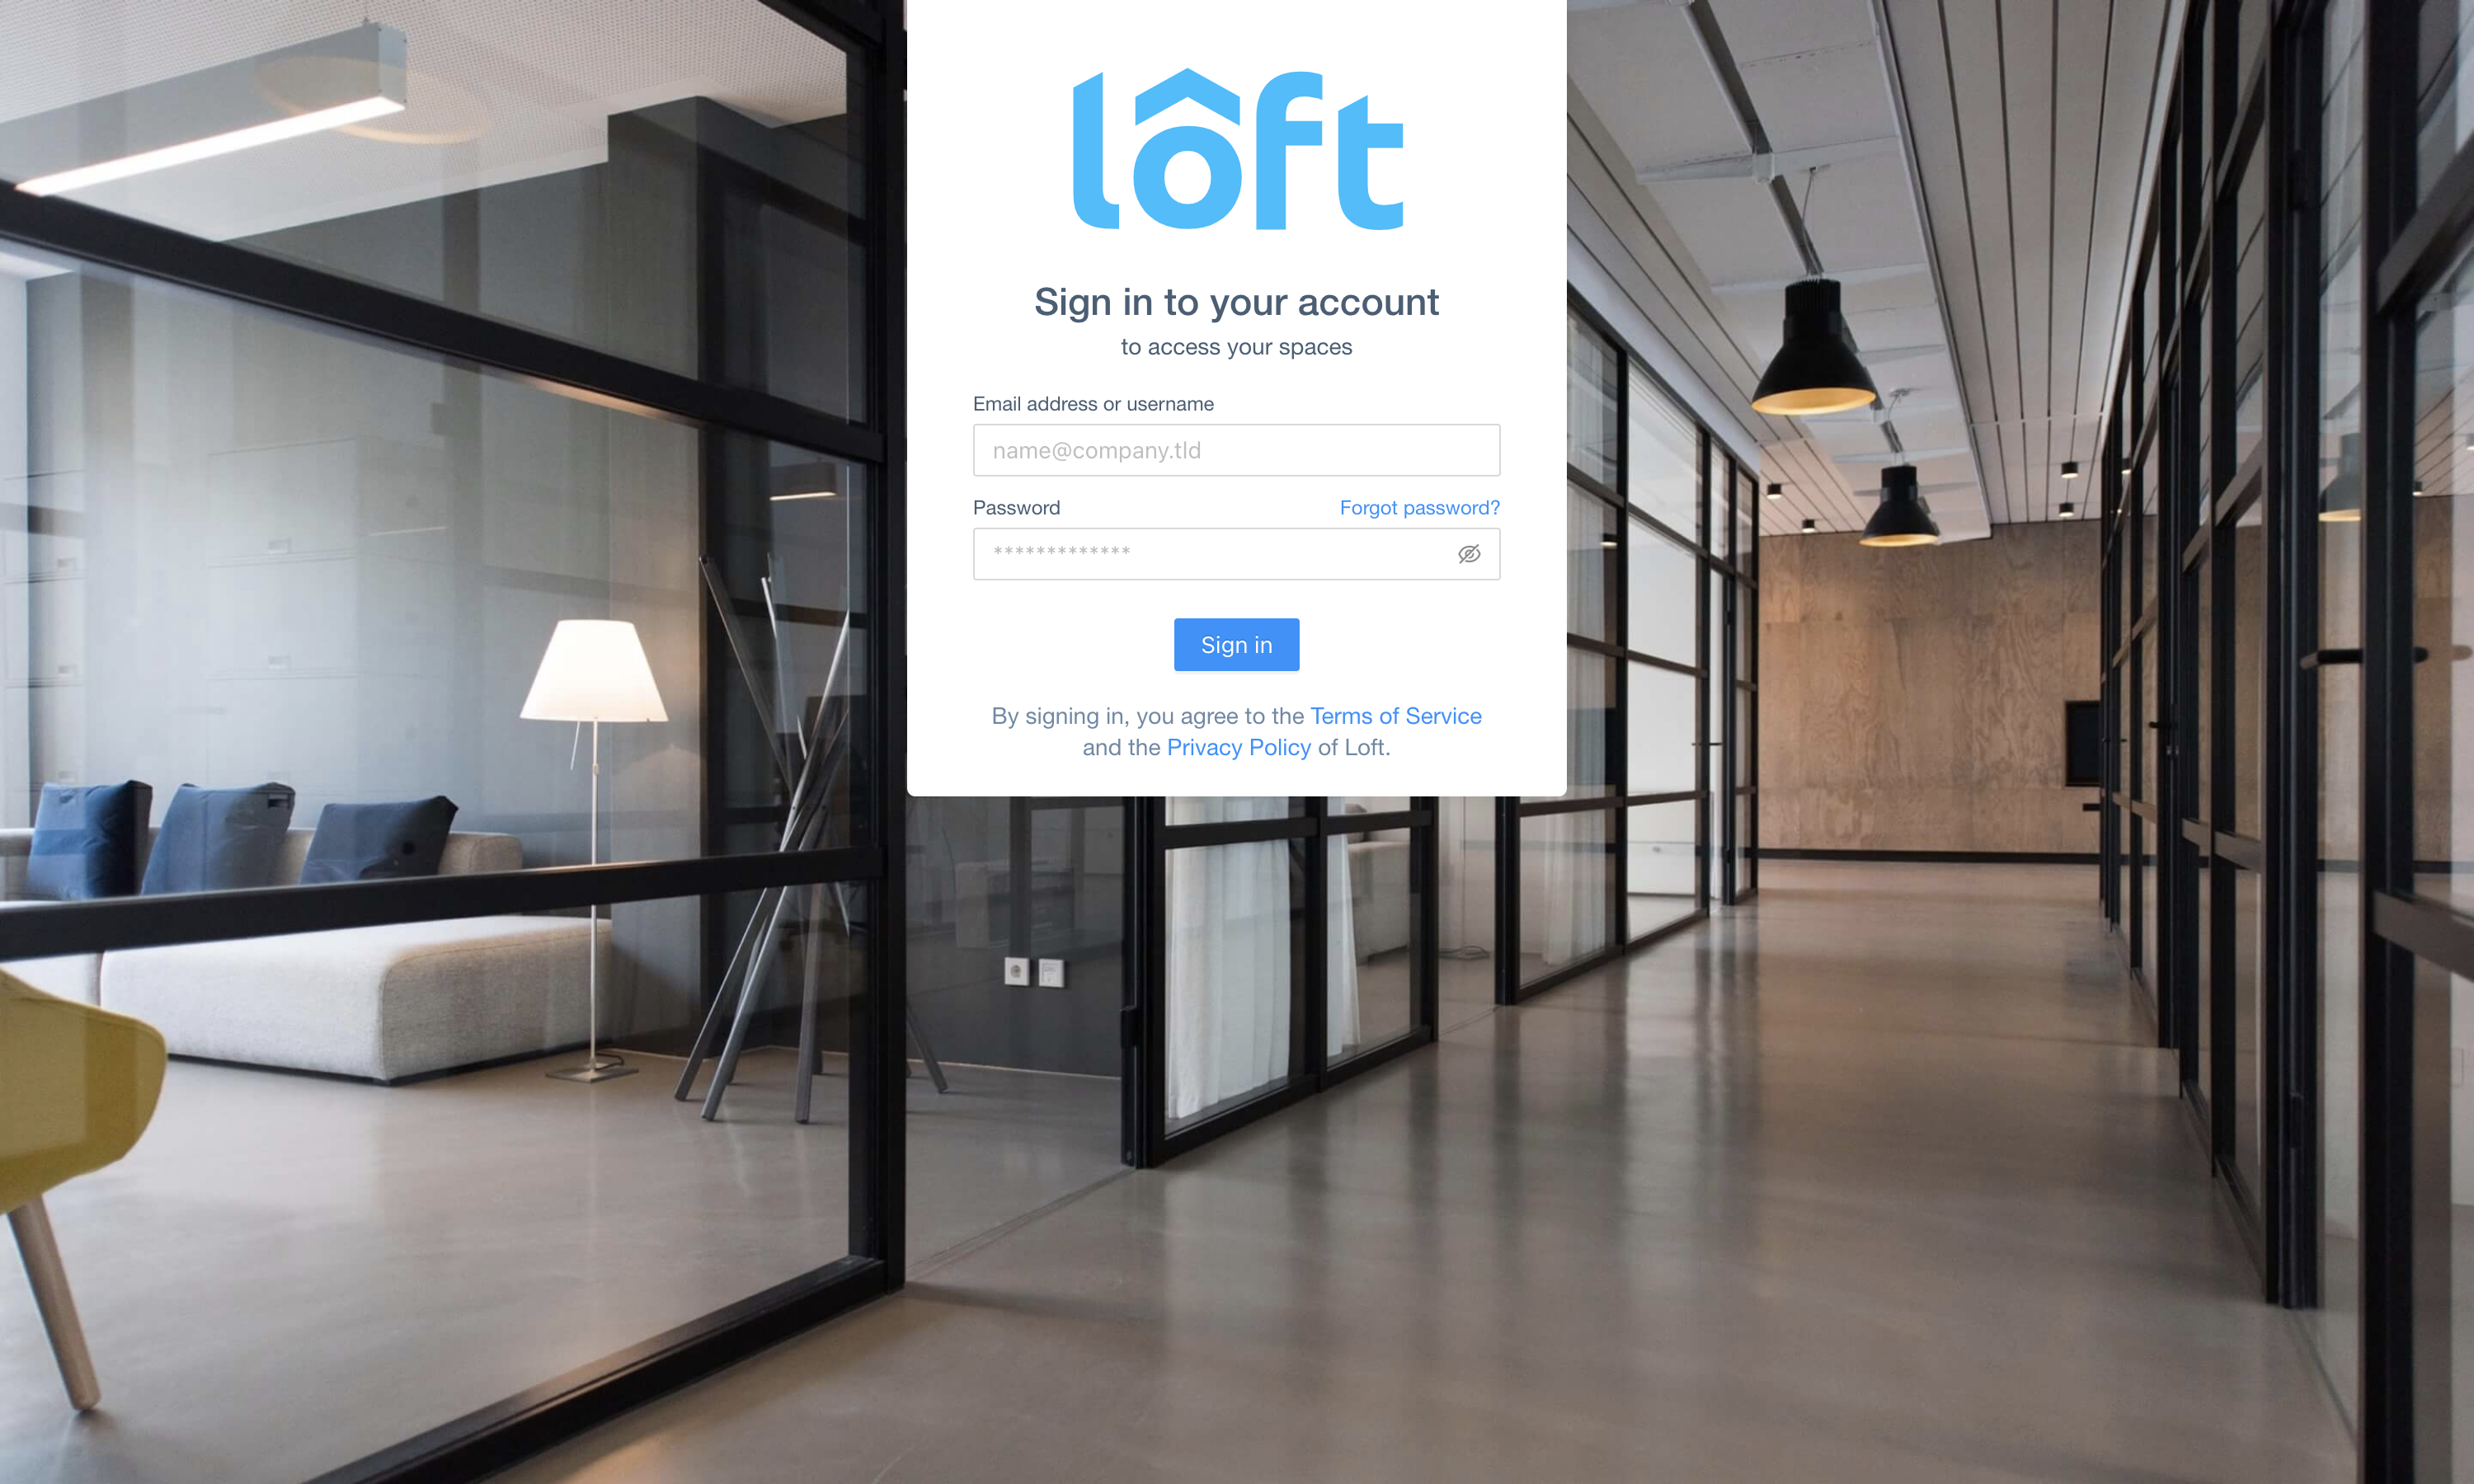
Open the url
https://localhost:9898in your browser to access Loft UI via port-forwarding. To get a kube-context for your spaces or virtual clusters, we recommend that you install and use Loft CLI.Use one of the following commands to download the Loft CLI binary from GitHub:
- Mac Terminal
- Linux Bash
- Windows Powershell
npm install -g loft.shyarn global add loft.shcurl -s -L "https://github.com/loft-sh/loft/releases/latest" | sed -nE 's!.*"([^"]*loft-darwin-amd64)".*!https://github.com\1!p' | xargs -n 1 curl -L -o loft && chmod +x loft;
sudo mv loft /usr/local/bin;curl -s -L "https://github.com/loft-sh/loft/releases/latest" | sed -nE 's!.*"([^"]*loft-linux-amd64)".*!https://github.com\1!p' | xargs -n 1 curl -L -o loft && chmod +x loft;
sudo mv loft /usr/local/bin;md -Force "$Env:APPDATA\loft"; [System.Net.ServicePointManager]::SecurityProtocol = [System.Net.SecurityProtocolType]'Tls,Tls11,Tls12';
Invoke-WebRequest -UseBasicParsing ((Invoke-WebRequest -URI "https://github.com/loft-sh/loft/releases/latest" -UseBasicParsing).Content -replace "(?ms).*`"([^`"]*loft-windows-amd64.exe)`".*","https://github.com/`$1") -o $Env:APPDATA\loft\loft.exe;
$env:Path += ";" + $Env:APPDATA + "\loft";
[Environment]::SetEnvironmentVariable("Path", $env:Path, [System.EnvironmentVariableTarget]::User);Check Environment Variable $PATH
Line 4 of this install script adds the install directory
%APPDATA%\loftto the$PATHenvironment variable. This is only effective for the current Powershell session, i.e., when opening a new terminal window,loftmay not be found.Make sure to add the folder
%APPDATA%\loftto thePATHenvironment variable after installing Loft CLI via Powershell. Afterward, a reboot might be necessary.To confirm that Loft CLI is successfully installed, reboot and test via:
loft --versionAlternatively, you can download the binary for your platform from the GitHub Releases page and add this binary to your PATH.
After Loft CLI is installed on your computer, you can use it to log in:
loft login https://localhost:9898 --insecure
Accept Untrusted Certificate
Since Loft generates a self-signed SSL certificate, you need to run loft login with the --insecure flag and once the browser opens, you will also need to accept the untrusted self-signed certificate before the login page will show up. Once you connect a domain to Loft later on, you can use your own, valid certificates or have one provisioned via cert-manager.
